
Of all the little decisions that fill the final weeks before a wedding, the seating chart is the one that quietly holds the most weight. It is where guest lists become real people, where family dynamics need a gentle touch, and where the flow of your reception is decided long before the first speech. Done well, it feels effortless — guests find their place, settle in, and never think about it again. That is exactly the point.
Here is how to plan your wedding seating chart calmly, thoughtfully, and in a way that feels like part of your day rather than a spreadsheet you dread. This is an Australian guide, written for couples who want the whole evening to feel considered from the very first envelope.
When to start your seating chart
The honest answer is later than you would think, and earlier than most couples do. Your seating chart depends entirely on final numbers, so it cannot truly begin until your RSVPs are in. Set your RSVP deadline for roughly three to four weeks before the day, then begin arranging tables once you have a near-final count — usually four to six weeks out.
Starting too early means reworking everything as replies trickle in. Starting too late leaves no room for the inevitable last-minute changes: a cousin who can now make it, a plus-one you did not expect. If you would like a full view of how the paper side of your wedding unfolds, our guide on when to send wedding invitations in Australia maps the whole timeline.
How to plan it, step by step
The trick to a painless seating chart is to stop thinking about individual chairs and start thinking in groups. People arrive at a wedding already belonging to little clusters — the uni friends, her side of the family, his work crowd, the neighbours who have known you both since childhood. Your job is simply to give each cluster a beautiful place to land.
Anchor your key tables first
Begin with the tables you feel most certain about. Immediate family, the wedding party, and your closest friends usually place themselves. Position these near the head table so the people who matter most are closest to you. Everything else arranges itself more easily once these anchors are set.
Build outward in natural groups
Work from your anchors outward, seating each cluster together and placing compatible groups side by side. Guests are happiest beside people they already know, or people they would genuinely enjoy meeting. A table is not a puzzle to be solved perfectly — it is a small dinner party you are hosting on their behalf.
Leave yourself flex seats
Here is the tip seasoned planners swear by: build two or three "flex" seats into tables where an extra guest would blend in naturally. Late confirmations slot straight into these without a single reshuffle. It is the difference between a calm final week and a stressful one.
Who sits where: a gentle etiquette guide
Modern Australian weddings are refreshingly relaxed about seating, but a few gentle principles still make the evening flow beautifully.
The head table sets the tone. Whether you choose a traditional bridal table, a sweetheart table for two, or a long banquet with your wedding party, place it where every guest can see you — it is the visual heart of the room. Seat parents and grandparents close by, ideally with a clear view of both you and the dance floor.
With family, comfort comes before formality. If you know two guests have history, simply seat them at separate tables with people they adore — no explanation required. A quiet word with key family members before you finalise anything can save a great deal of gentle diplomacy later. And when a guest brings a plus-one you have never met, ask for their name early so their place card is ready and warm, not a hasty afterthought.
The three pieces that guide your guests
A well-planned reception speaks to guests through paper before anyone says a word. Three pieces do the quiet work of guiding everyone from the door to their seat, and when they share the same design language, the whole room feels intentional.
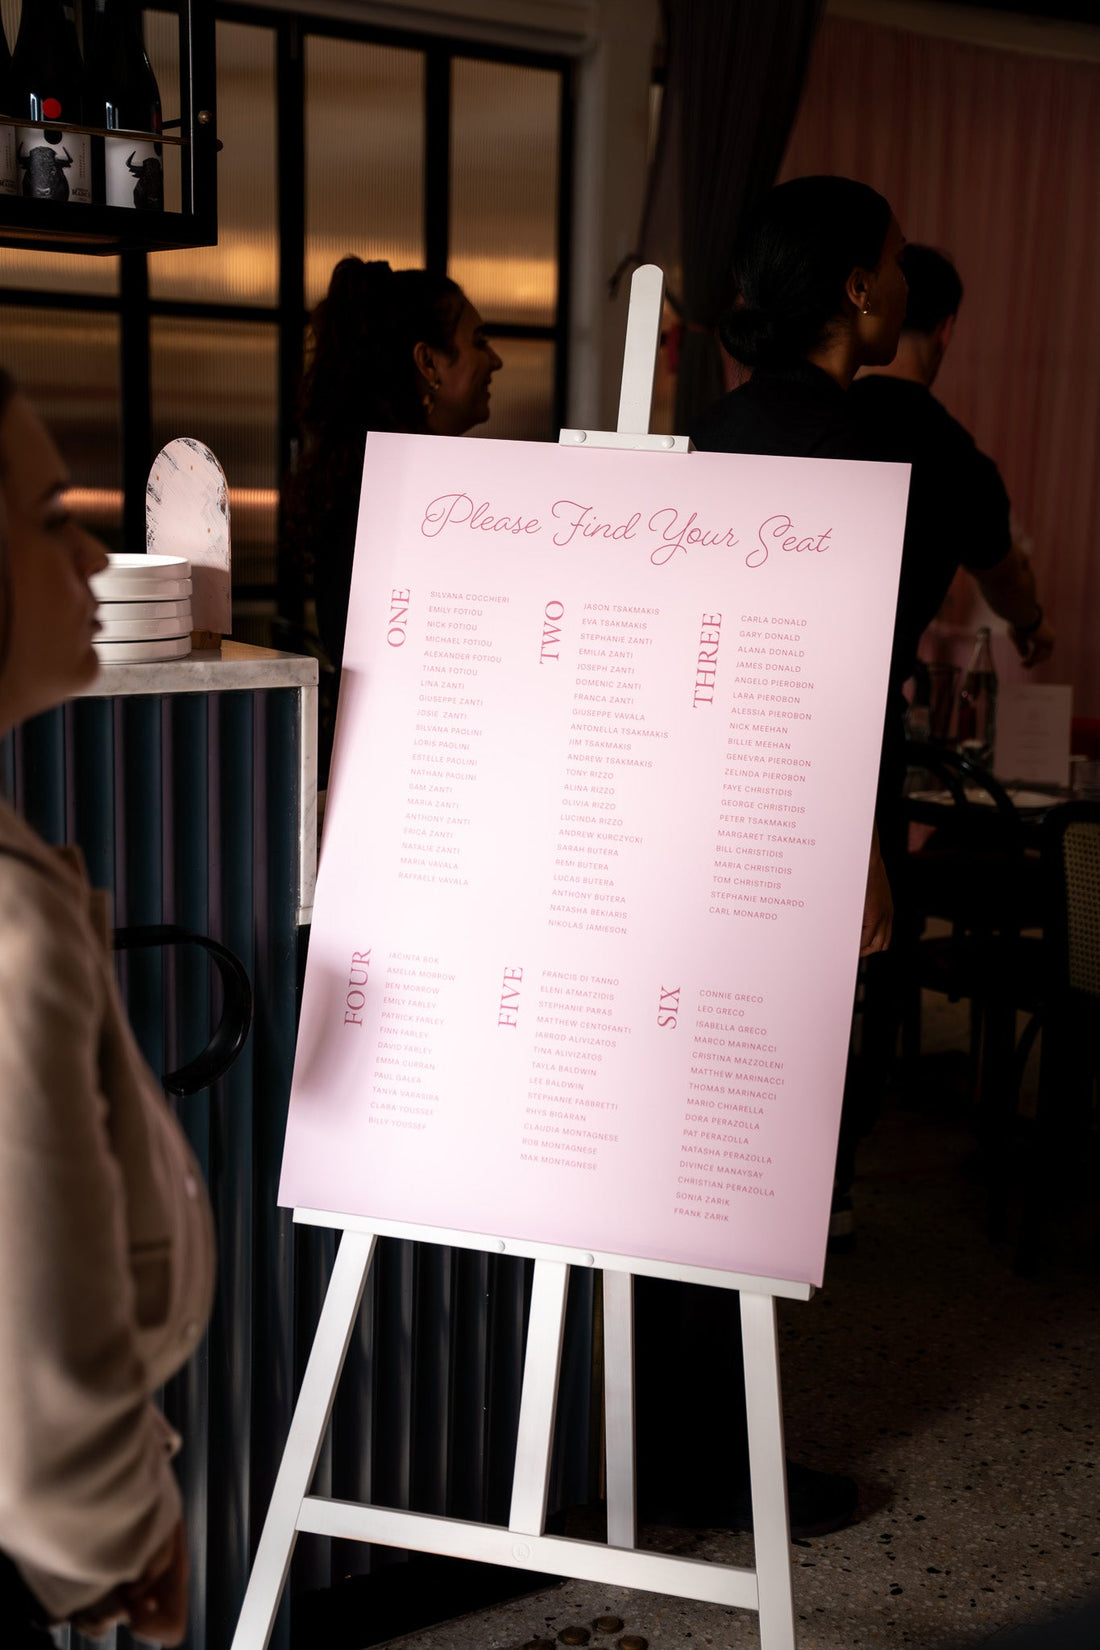
First comes the seating chart, displayed at the entrance so guests can find their table at a glance. Ours are printed at a commanding A1 with an arched, architectural border that turns a practical sign into a genuine moment. Then, at each place, a name card marks exactly where a guest sits — the small, personal touch that makes people feel expected rather than squeezed in. Finally, a menu waits at each setting, telling the evening's story course by course.
When these three pieces share the same typography, palette and border as your invitation, the reception reads as one continuous idea. That cohesion is the quiet luxury guests feel without quite being able to name it.
Making it beautiful: matching your chart to your suite
A seating chart should never feel like an afterthought pinned up by the door. The most elegant receptions treat it as an extension of the invitation your guests received months earlier. Choosing your seating chart, name cards and menu from the same collection means the script, the spacing and the colour all echo across the room.
Consider your venue when you choose a colour. A deep Burgundy or Cherry chart feels rich and intimate against candlelight, while Sage or Ivory sits softly beside greenery and linen draping. If you are still deciding on your palette, our guide to wedding colour palette ideas is a lovely place to begin. And if you would like a layout shaped entirely around your venue and guest list, our bespoke design service can create something made to feel like you.
Every piece is printed on premium 350gsm Knight Smooth card stock and designed to pair effortlessly across your suite. To see how personalising and approving your stationery works from start to finish, visit How It Works — and for a full picture of the pieces that complete a wedding, our guide to wedding stationery suite essentials covers everything from save the dates to the final table detail.
Frequently asked questions
Do I really need a seating chart?
For a seated reception, yes. Assigned seating removes the awkward shuffle of guests hovering with plates, keeps couples and families together, and lets you place people thoughtfully. For a relaxed cocktail-style reception you can skip it, though a seating chart still helps older guests and anyone who would rather not fend for a chair.
What is the difference between a seating chart and name cards?
A seating chart is one large display at the entrance that tells each guest which table they are on. Name cards sit at individual places and mark exactly where a guest sits at that table. Most weddings use both: the chart directs guests to the table, the name card settles them into their seat. You can use a chart alone for a more casual feel, but pairing the two is the polished choice.
How many guests should I seat per table?
Eight to ten guests per round table is the sweet spot — enough for lively conversation without anyone feeling stranded across a vast expanse of linen. Long banquet tables are more flexible and suit modern, editorial receptions beautifully. Always leave a clear sightline to the head table and dance floor.
Can I change the wording after I approve my proof?
Because your seating chart depends on final numbers, we send a digital proof within 48 hours so you can check every name before anything is printed. We build in generous negative space so a late addition rarely disrupts the layout. Lock in your list as close to your RSVP deadline as possible, then approve with confidence.
When should I finalise everything?
Have your seating chart, name cards and menu approved around two weeks before the wedding. That leaves comfortable time for printing and delivery Australia-wide, and a buffer for any final tweaks. Order the pieces together so the design stays perfectly consistent across the suite.